How to Access Your Mac in Cloud via Screen Sharing
If you’re connecting from another Mac, Screen Sharing is one of the easiest ways to access your Mac in cloud. It’s built directly into macOS, so there’s nothing extra to install, just a few clicks to setup.
Step 1: Get Your rented Mac in Cloud Connection Details
Check your e-mail inbox or junk mail for the login credentials. Alternative, you may login to Casbay’s client area and look for the login details from your inbox notifications.
Step 2: Enable Screen Sharing
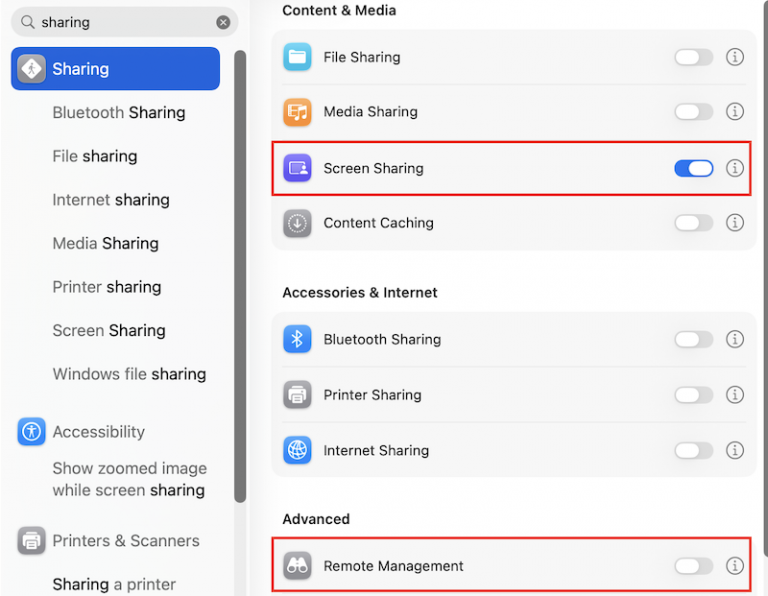
On your rented Mac in cloud navigate to System Settings >General > Search for Sharing and toggle Screen Sharing or Remote Management On. Make sure either one is On, as both cannot run at the same time.
Step 3: Identify your Mac in cloud Device
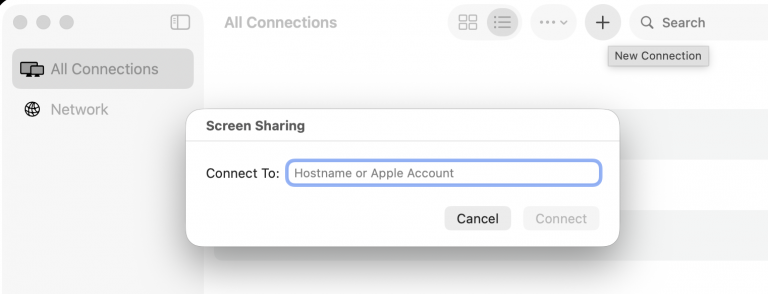
To add your rented Mac, Click the (+) icon in the top toolbar to add a connection.
Step 4: Authenticate the Connection
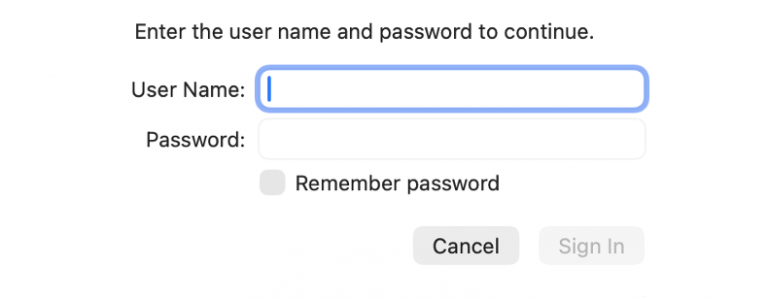
Input the Hostname ,Apple Account or IP address and click Connect. If asked, enter the Username and Password exactly as provided and click Sign In, ensuring all details match perfectly to avoid a connection timeout.
Step 5: Initialize Session
If the connection succeeds, the remote desktop environment will open in a new window. From there you can switch between Control Mode (full interaction) and Observe Mode (view only) by clicking on the toolbar icons at the top of the window.